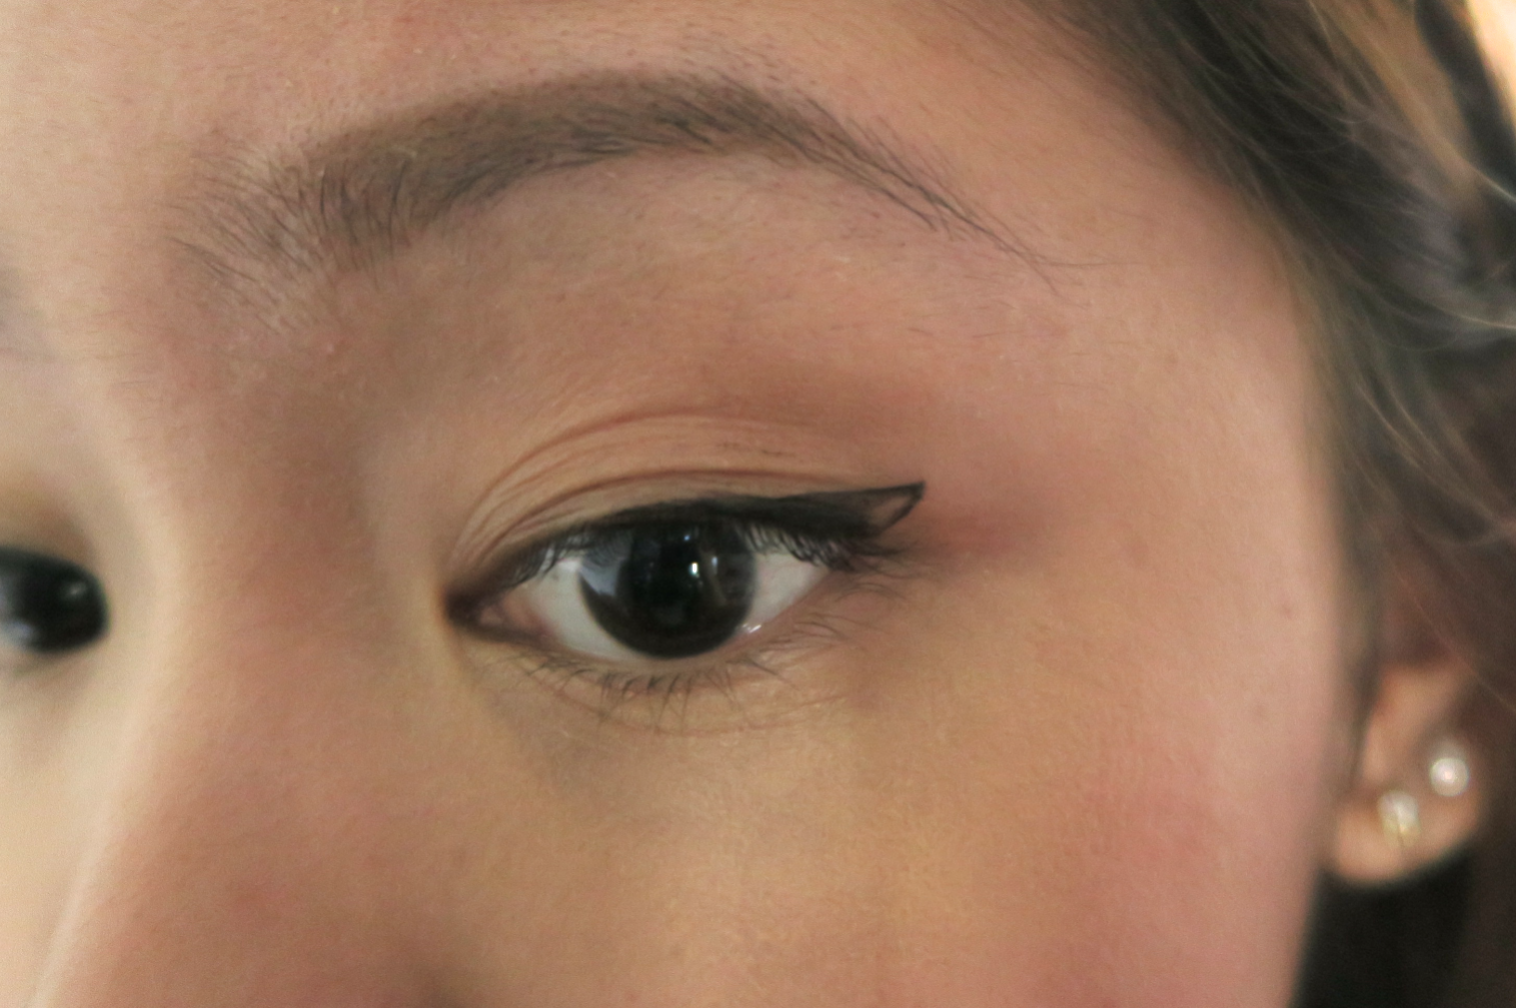
So much time and effort are put in order to pull of the Cat Eye look, which is why I have mad respect for individuals who can apply it within seconds. To this day, I make sure I have an extra 10 minutes to spare if I want to wear eyeliner, more so if it's a Cat Eye.
For this tutorial, I will be using the Stay All Day® Waterproof Liquid Eye Liner from Stila in the color Jet Black. I got it from Rustan's for Php745. I love how this waterproof liquid liner has thin marker-like tip that glides on with ease, won’t smudge or run, and lasts all day long.
 | 1. Starting at the centre of your eyelid (just above your upper lash line), draw a line outwards, following the shape of your eye until you reach the outer corner. |
 | 2. Extend the liner out and slightly upwards as if it’s an extension of your lower lash line. You can make your look as dramatic or as subtle as you like, depending on how far out you extend your flick. I honestly dig the subtle cat eye for day time, reserving the dramatic one for nights out. |
 | 3. When you’re happy with the length, join the end of the wing to the outer tip of your eye, creating a triangular shape. Then fill in any space in between. Go over your line to smooth it out or make the colour denser. |
Keep a cotton bud and makeup remover within reach if you think you'll mess it up on your first try. Also, expect your left and right wing to appear a bit uneven. To avoid this, you can do each step simultaneously (do step one on both your eyes before proceeding to step two..).
If you want to finish it off with a few coats of volumizing mascara, go ahead. If you want to apply eyeshadow, do so before lining your eyelids if you want the line to be crisp.
(On my face: YSL Touche Eclat, Laura Mercier Secret Camouflage, Ever Bilena Lip & Cheek Stain,
Stila Stay All Day® Waterproof Liquid Eye Liner, Elizabeth Arden exceptional lipstick in Breathless)
This particular makeup look will definitely test your patience. Know that just like riding a bicycle, practice makes purr-fect! ☺︎
And yes, I got braces!!


